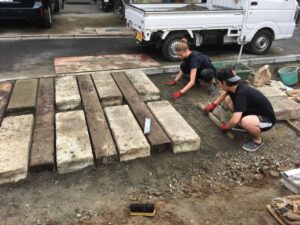
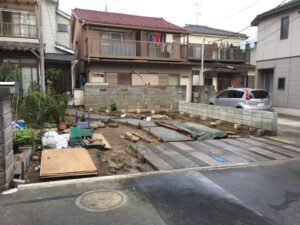
Making a natural style Japanese garden (part 3)
In the last chapter, I wrote about the process to make a car parking lot and I am going to write about a garden path in this article.
Generally, the garden path is the most iconic part of the garden. For the purpose of arranging it for the appropriate position, I measured the distance from the car parking lots to the entrance and made a line.
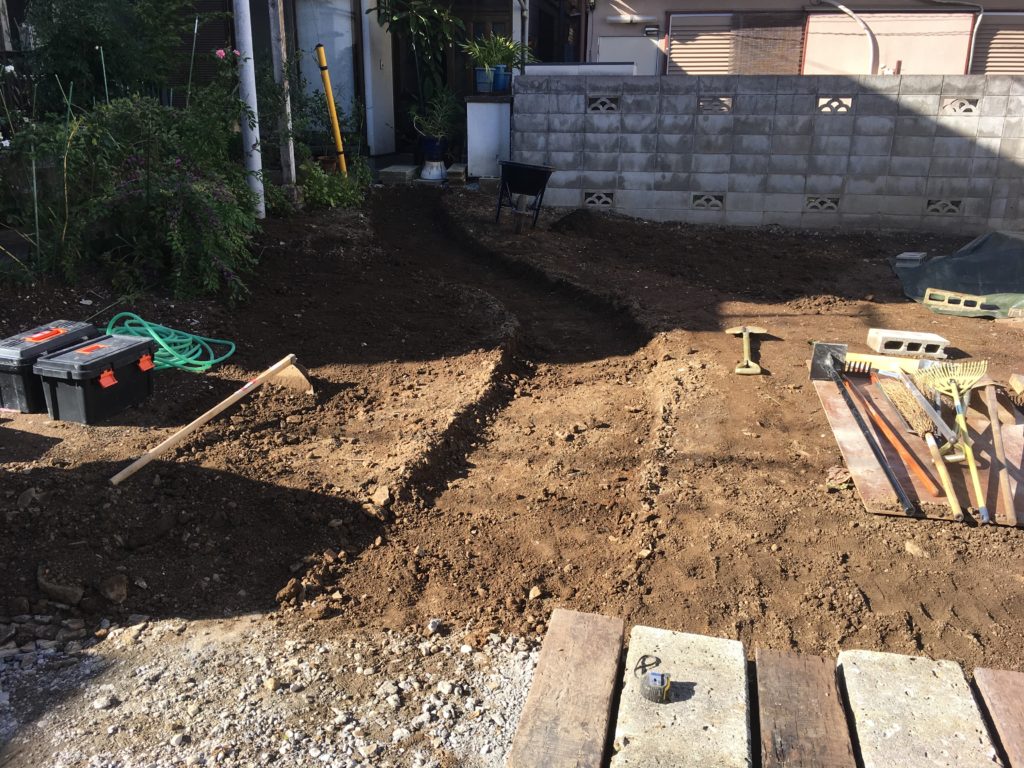
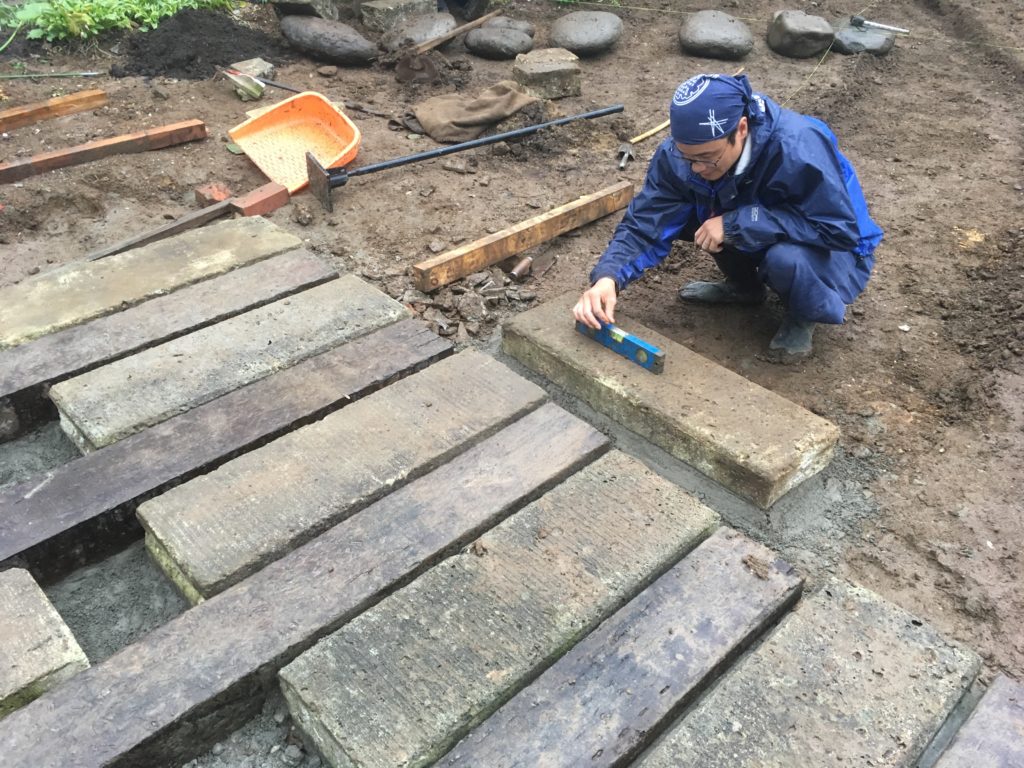
To make a car parking lot and garden path looks to match, we arranged an Oya stone at the beginning part of the path. The person who was measuring level is So-kun, who came from Shanghai to learn the Japanese garden. His parents manage a landscape design company in China, so he has the plan to join it in the future.
At the same time, we started to make a path of stepping stones to connect the main path. Yoshida-san is digging a hole to arrange stones.
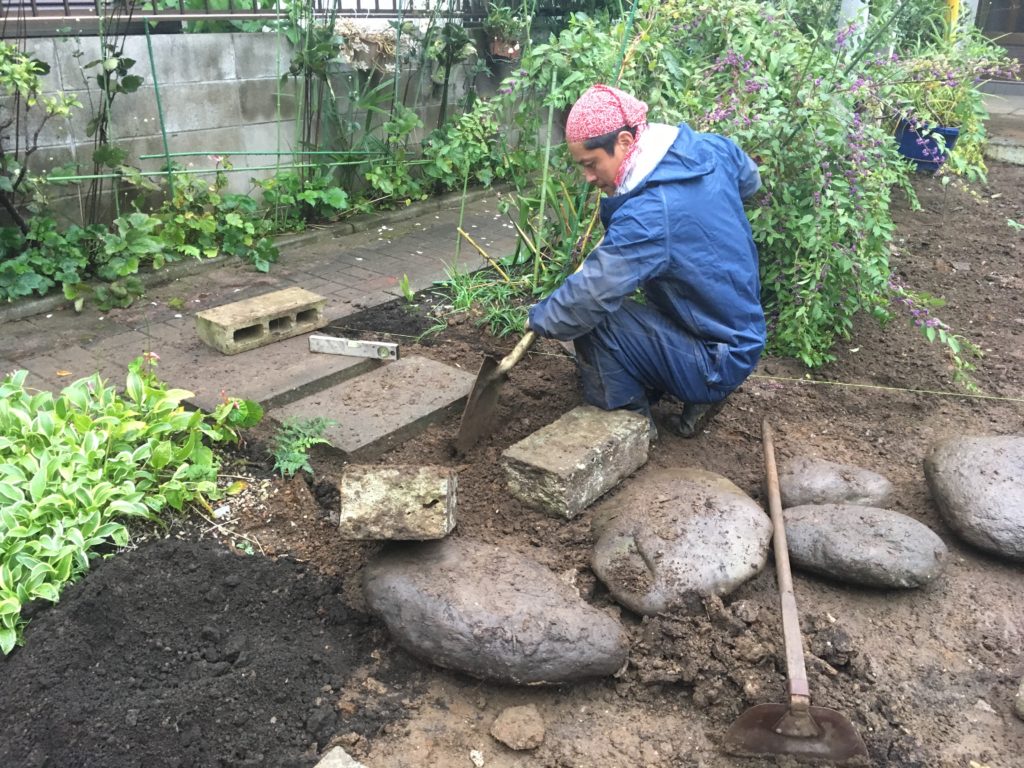
The work proceeded until the end of the day, and we could make the structural part of the path. To make the main path durable, we dug 15cm under the path, and put 5cm of the gravel. It was an important process to make this path strong and last long. After that, we arranged stones and railway sleepers for the decoration.
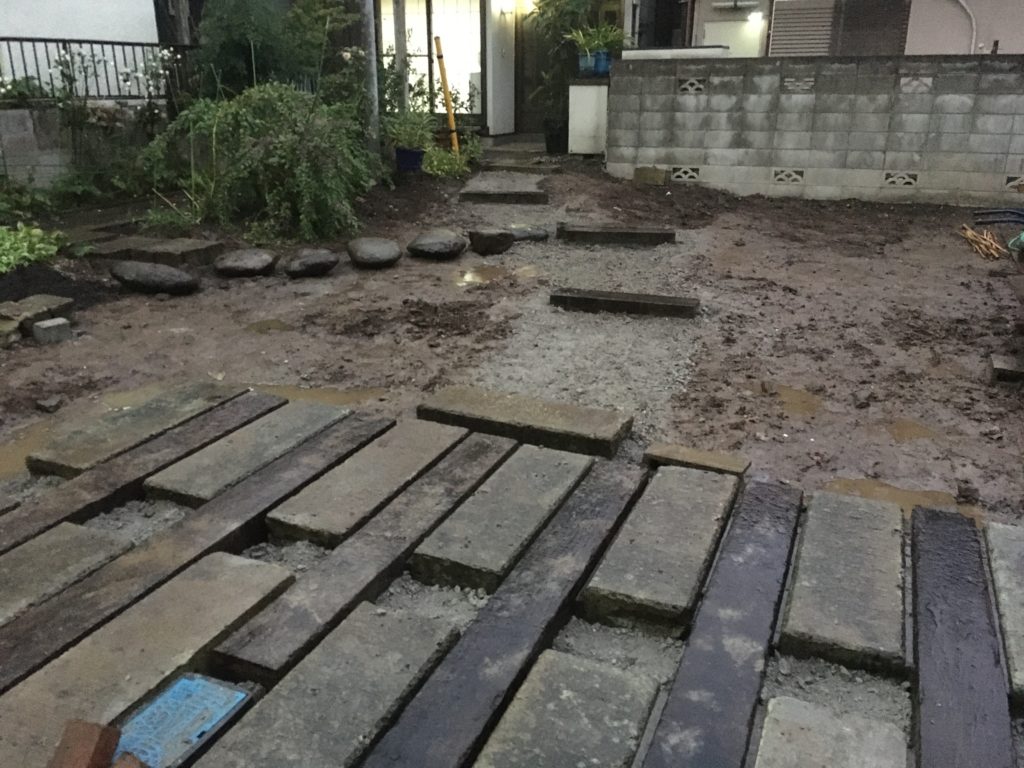
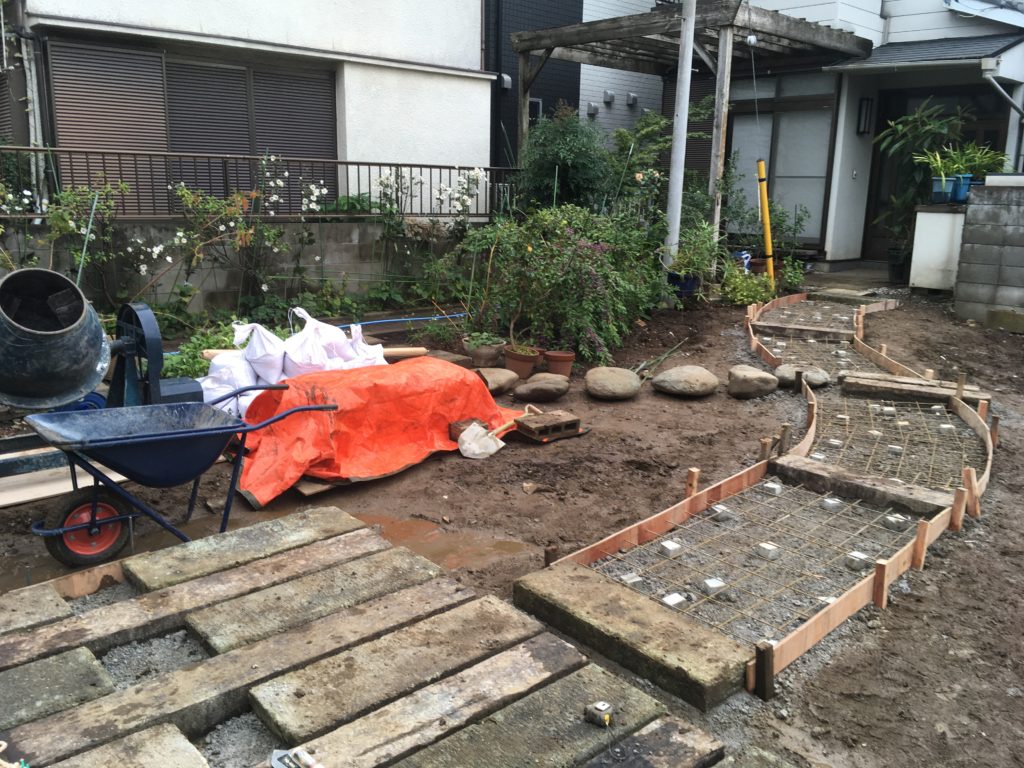
After finishing it, what we needed to do was arranging concrete forms. To make concrete stronger, we need to put wire‐netting in the middle part.
Even though we could order the ready‐mixed concrete from the shop, it is weekend and price was much higher than usual, we decided to make it by ourselves. This time, a French gardener Ronan came to help my work to use his muscles. He likes to build up his body and mixing/carrying concrete was the best way to do so.
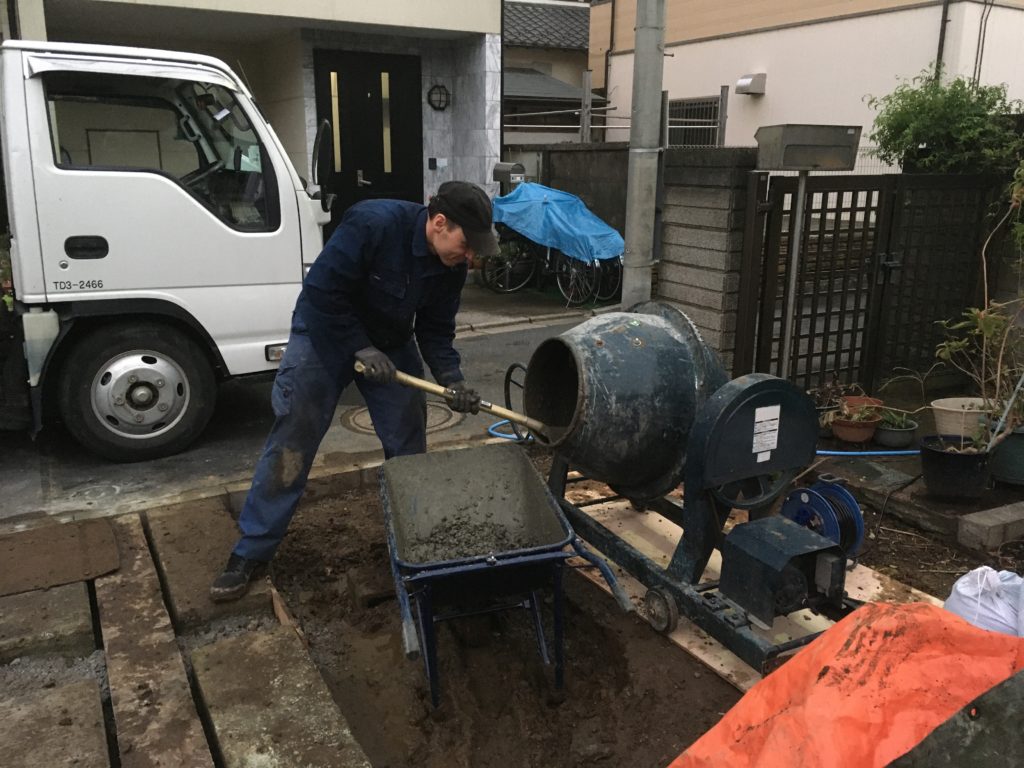
At this time, we put 7cm concrete in the bottom part, and 3cm concrete mixed with pebbles on the surface.
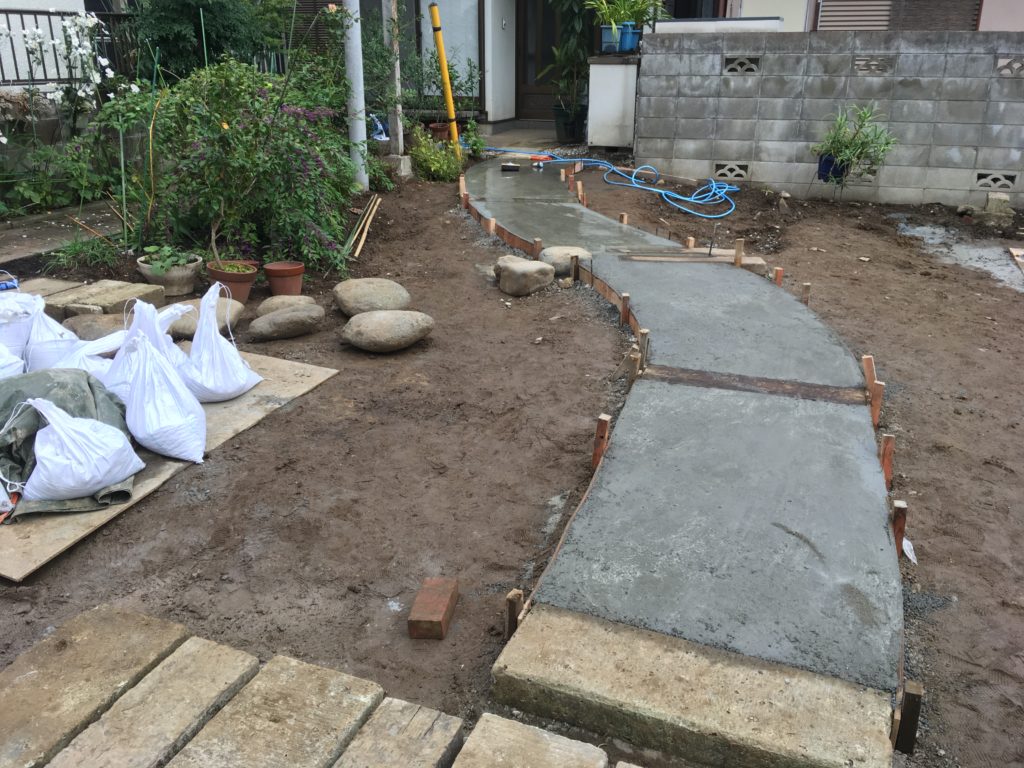
Then, we washed the surface part after waiting the inside of concrete became hard enough. It was the impressing moment.
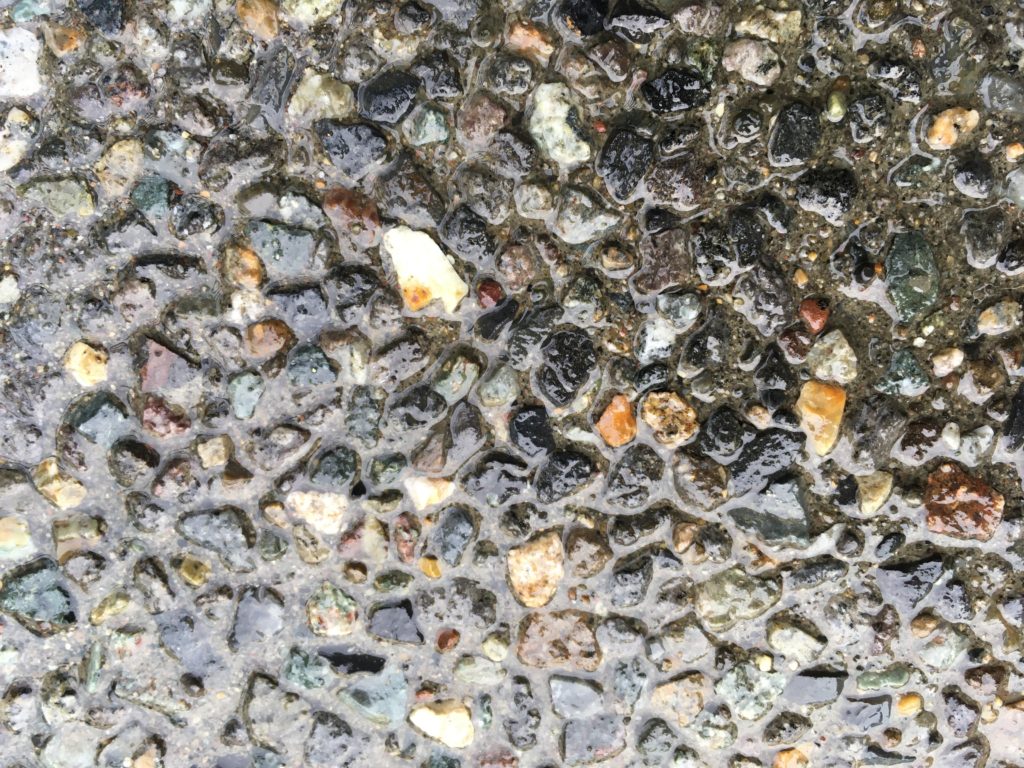
Beautiful pebbles appeared from the inside.
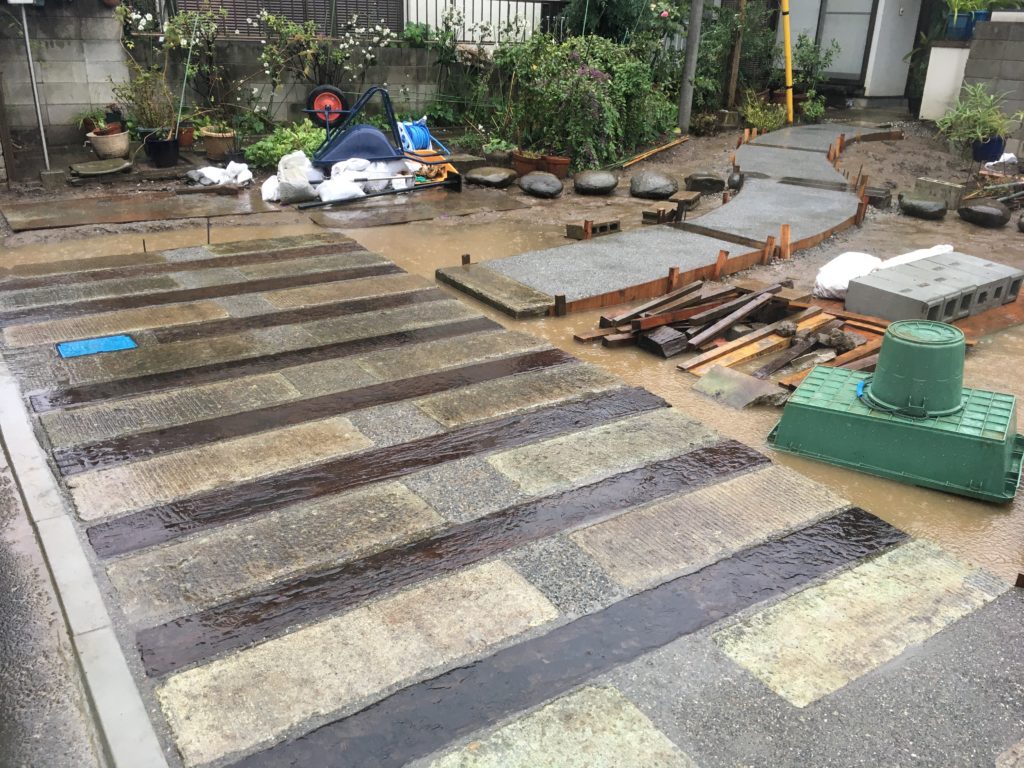
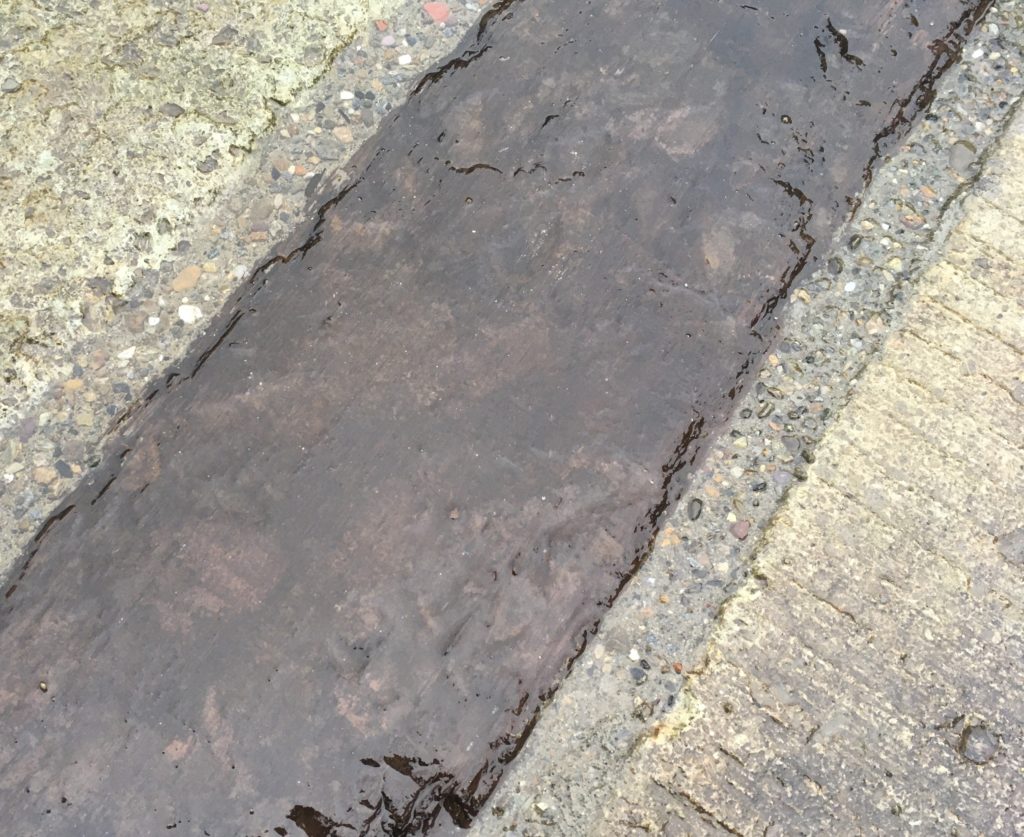
This is the entire part. We can feel the Japanese atmosphere from the relationship with sleeper and Oya stone, pebbles. It was strong rain while I was washing the concrete, but it was good timing because it helped me to clean the surface.
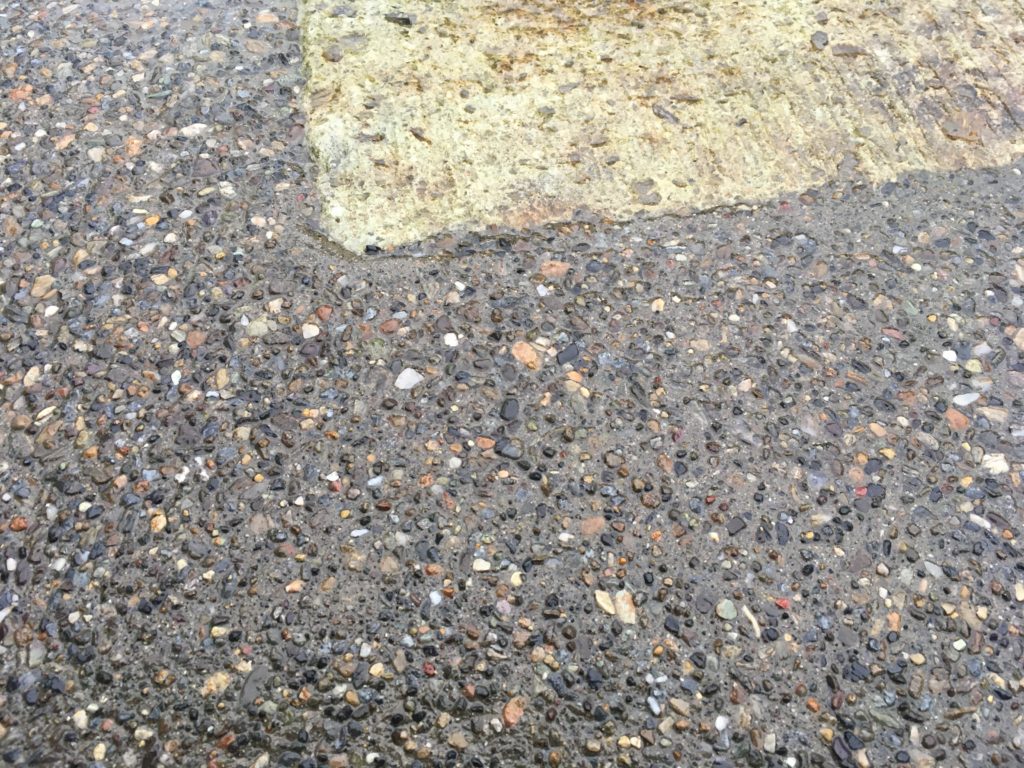
The combination of stone and pebbles.
The combination of sleeper and pebbles.
I think the concrete work is the hardest part of the garden making process because we need to work quickly before material became too hard.
However, if we could do it successfully, the result is always impressive.
The next chapter is making a fence and preparing to plant!
See you soon!

